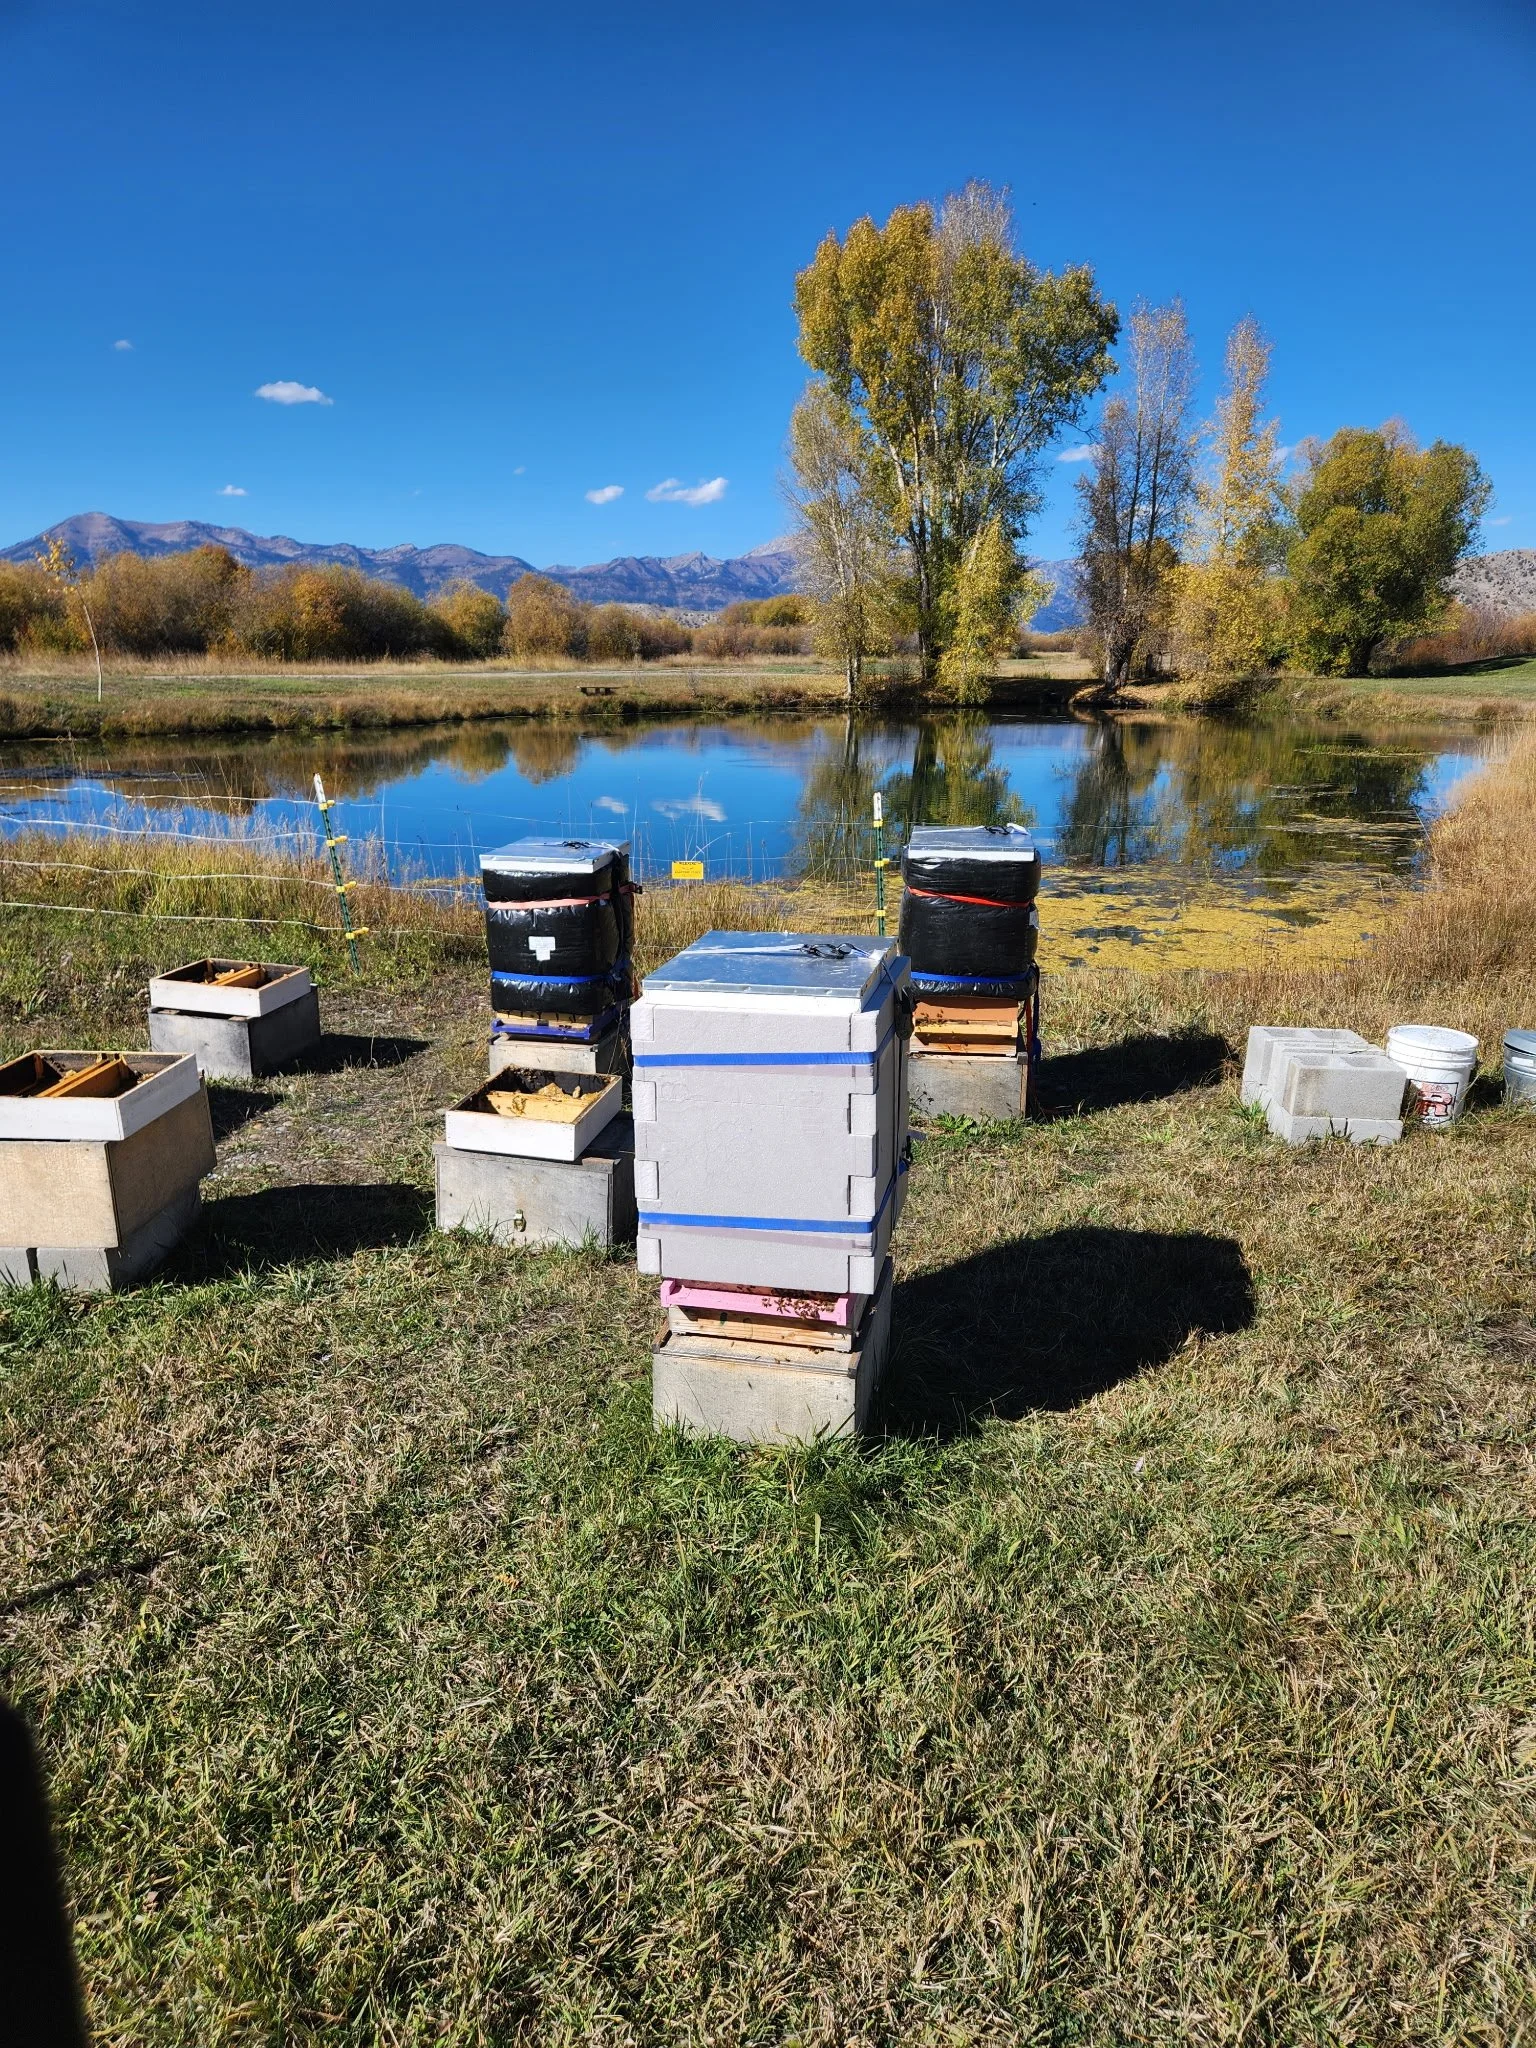
The VSR Hives are Winterized!
Thursday, October 9th, 2025 Jared and Kelsea spent time at the hives at Valley Springs Ranch winterizing our three HMPB hives. Here is how we prepared them.
After feeding the colonies in the early Fall, we hope the bees have stored away enough resources to survive, but we still added a Hive Alive Fondant Patty to the top of the hive. About a 3” circular hole was cut into the package and it was then laid, hole side down, on the top of the frames in the upper box. A spacer was added between the upper box and the quilt box to help the patty not get too smooshed into the frames. This will be insurance for the bees to help them make it to Spring in the event that they didn’t store enough to get through the winter.
The quilt box that is used on the VSR Hives looks like a medium hive box, but on the inside, instead of frames, we packed blue board into the box horizontally. The blue board box allows for the top of the hive to be the most insulated, so any condensation that accumulates in the hive will be on the sides, not the top. Keep in mind the goal is to prevent upper condensation. Condensation at the top of a hive will cause water droplets to fall onto the cluster. Cold doesn’t kill bees — water does! This is also another reason you want your hives tipped slightly forward to avoid an ice rink or puddle at the bottom of the hive.
For the outside, we used hive huggers on two hives and blue board on the third. These are the outer wraps that were strapped onto the hives to help keep the hives from being cooled by the elements. There are so many options out there to use, some beekeepers even pile snow against their hives! As long as you keep in mind, the sides need to be cooler than the top to keep condensation to the outer walls.
This Diagram will show how the hive construction should look for our High Mountain Winters:


